
There's nothing quite like a freshly painted room, but sometimes, a sneaky, unwelcome guest appears: a ceiling crack. It's easy to dismiss a small hairline crack as "just the house settling," but ignoring these flaws can lead to bigger, more expensive problems down the line.
At Brightline Painting, we don't just paint; we fix the underlying issues first. If you've spotted a crack, blister, or sagging area in your ceiling, it's a warning sign you should address immediately.
Common Ceiling Crack Warning Signs and What They Mean
Ceiling cracks come in many shapes and sizes, and their appearance can tell a story about what’s happening above the drywall.
| Warning Sign | Appearance | What It Usually Means | Urgency Level |
| Hairline Cracks | Thin, barely noticeable cracks, often spanning the length of a room or joint. | Minor drying, house settling, or poor drywall taping. Usually cosmetic and easily patched. | Low-Medium |
| Spiderweb/Map Cracks | A series of thin, short cracks running in various directions, like a dry riverbed. | Caused by aging plaster or too much paint/texture applied over time. Usually cosmetic. | Medium |
| Straight-Line Cracks | A distinct crack running in a straight line, often where two drywall sheets meet. | Indicates a failing drywall tape joint or stress on the seam. Can be a sign of minor structural movement. | Medium-High |
| Wider, Sagging Cracks | Cracks that are $1/8$ inch or wider, especially when accompanied by a slight dip or sag in the ceiling. | This is a serious sign. It could indicate significant structural movement, water damage, or too much weight above the drywall (e.g., in an attic). | HIGH |
| Yellow/Brown Stains with Cracks | Any crack with discoloration or a spongy, soft feel to the drywall. | Active Water Damage! The crack is a symptom of a leak from the roof, a pipe, or an upstairs bathroom. | CRITICAL |
The Brightline Solution: How We Fix It Right
You might be tempted to just slap some spackle on a crack and call it a day, but this is often a temporary fix. A true, lasting repair requires identifying the cause and treating the drywall correctly.
1. Diagnosis (The Most Important Step)
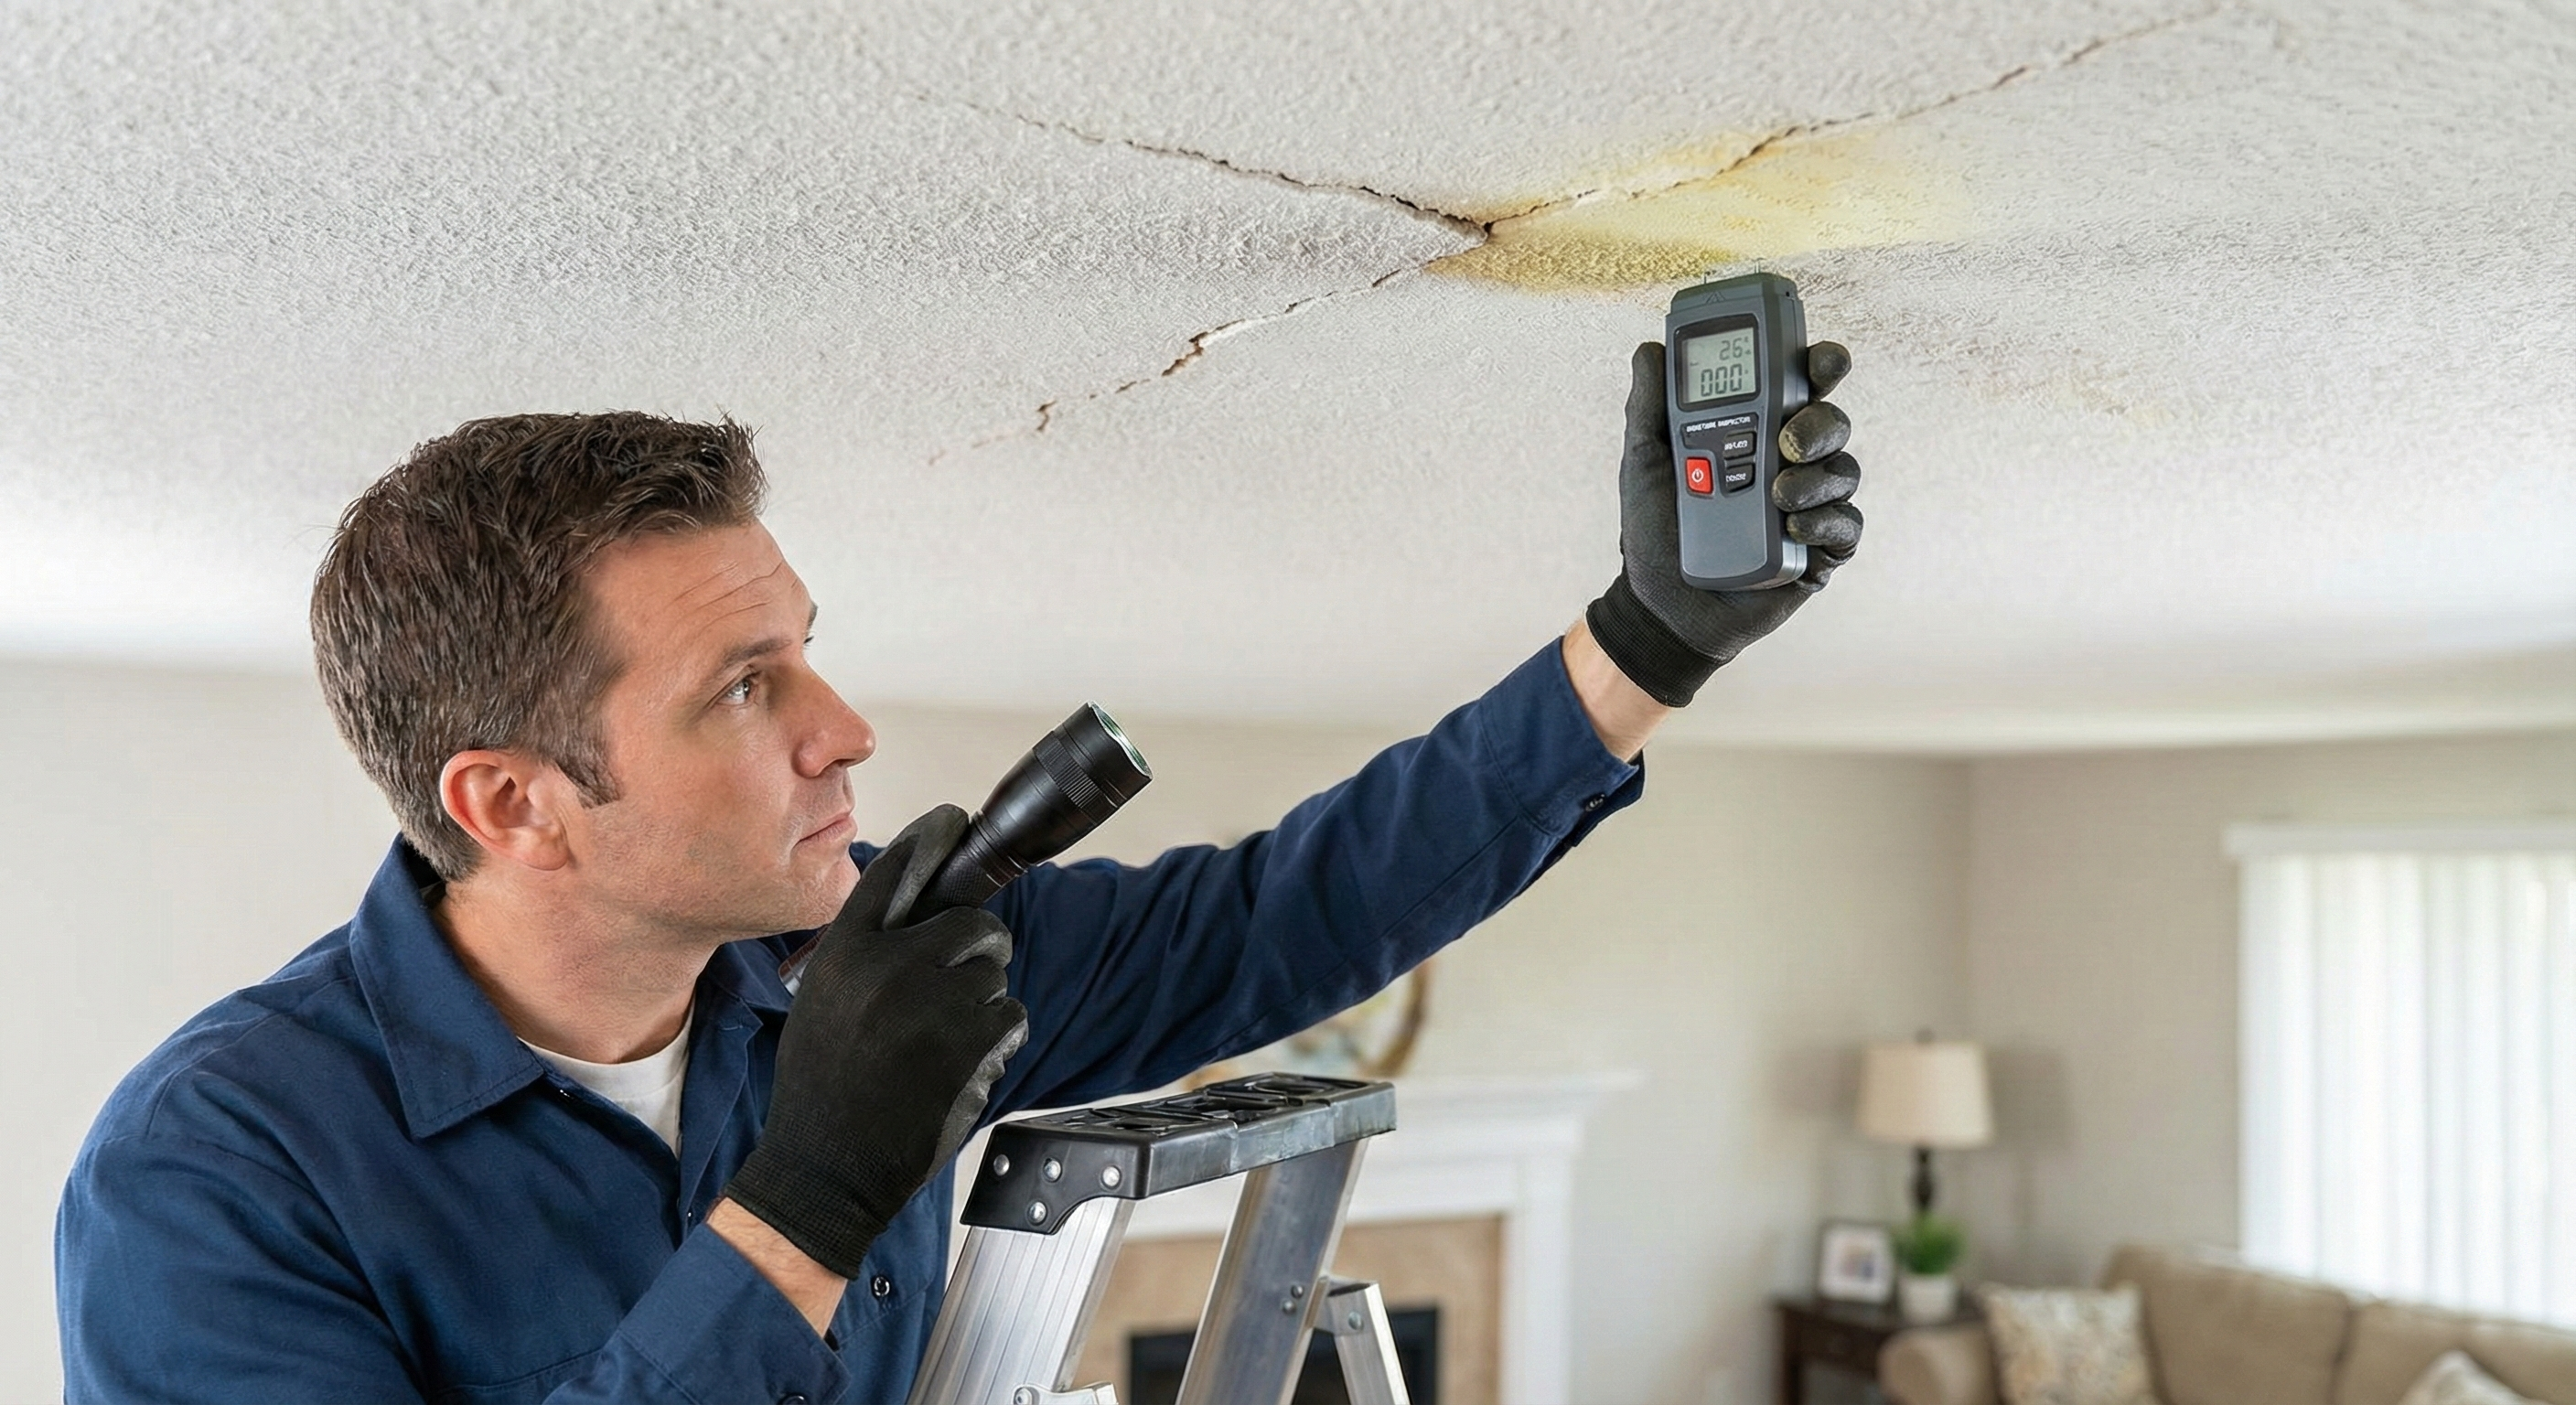
We first determine the source of the issue. If it's a water stain, we advise you to contact a plumber or roofer to fix the leak before we begin the ceiling repair.
2. Preparation and Widening
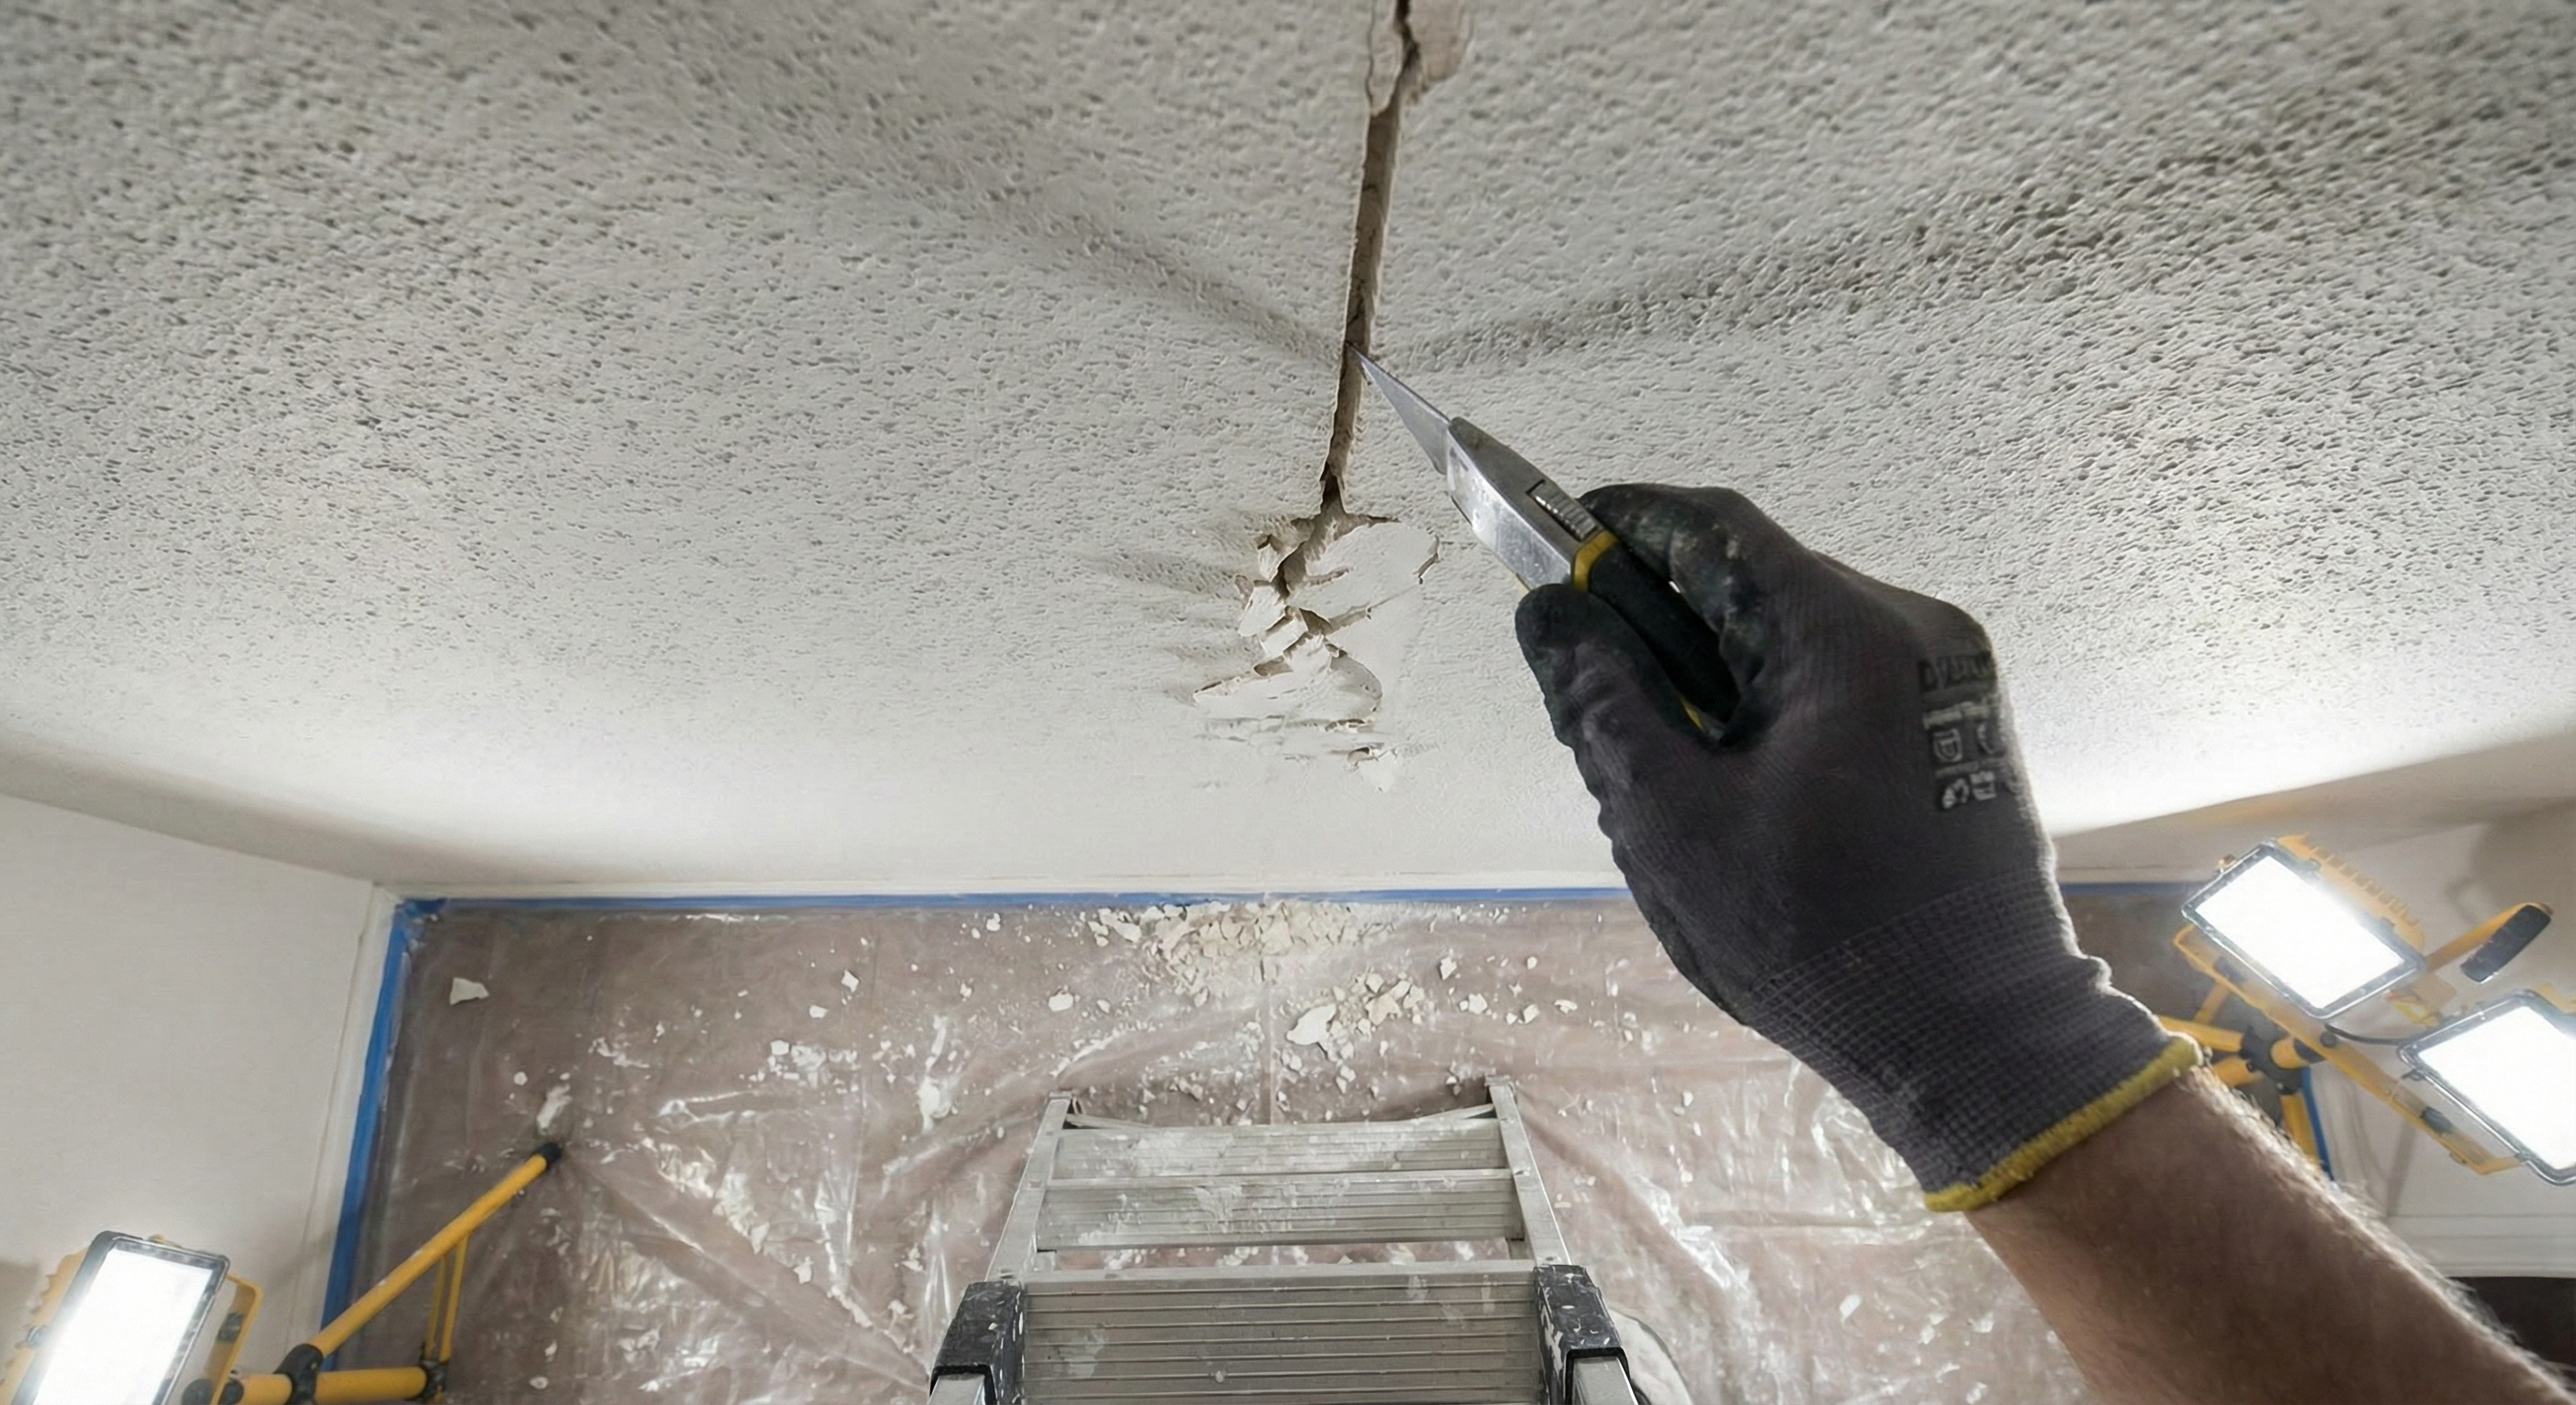
For stress cracks, we often slightly widen the crack into a "V" shape. This allows the patching compound to penetrate deeper and create a stronger bond.
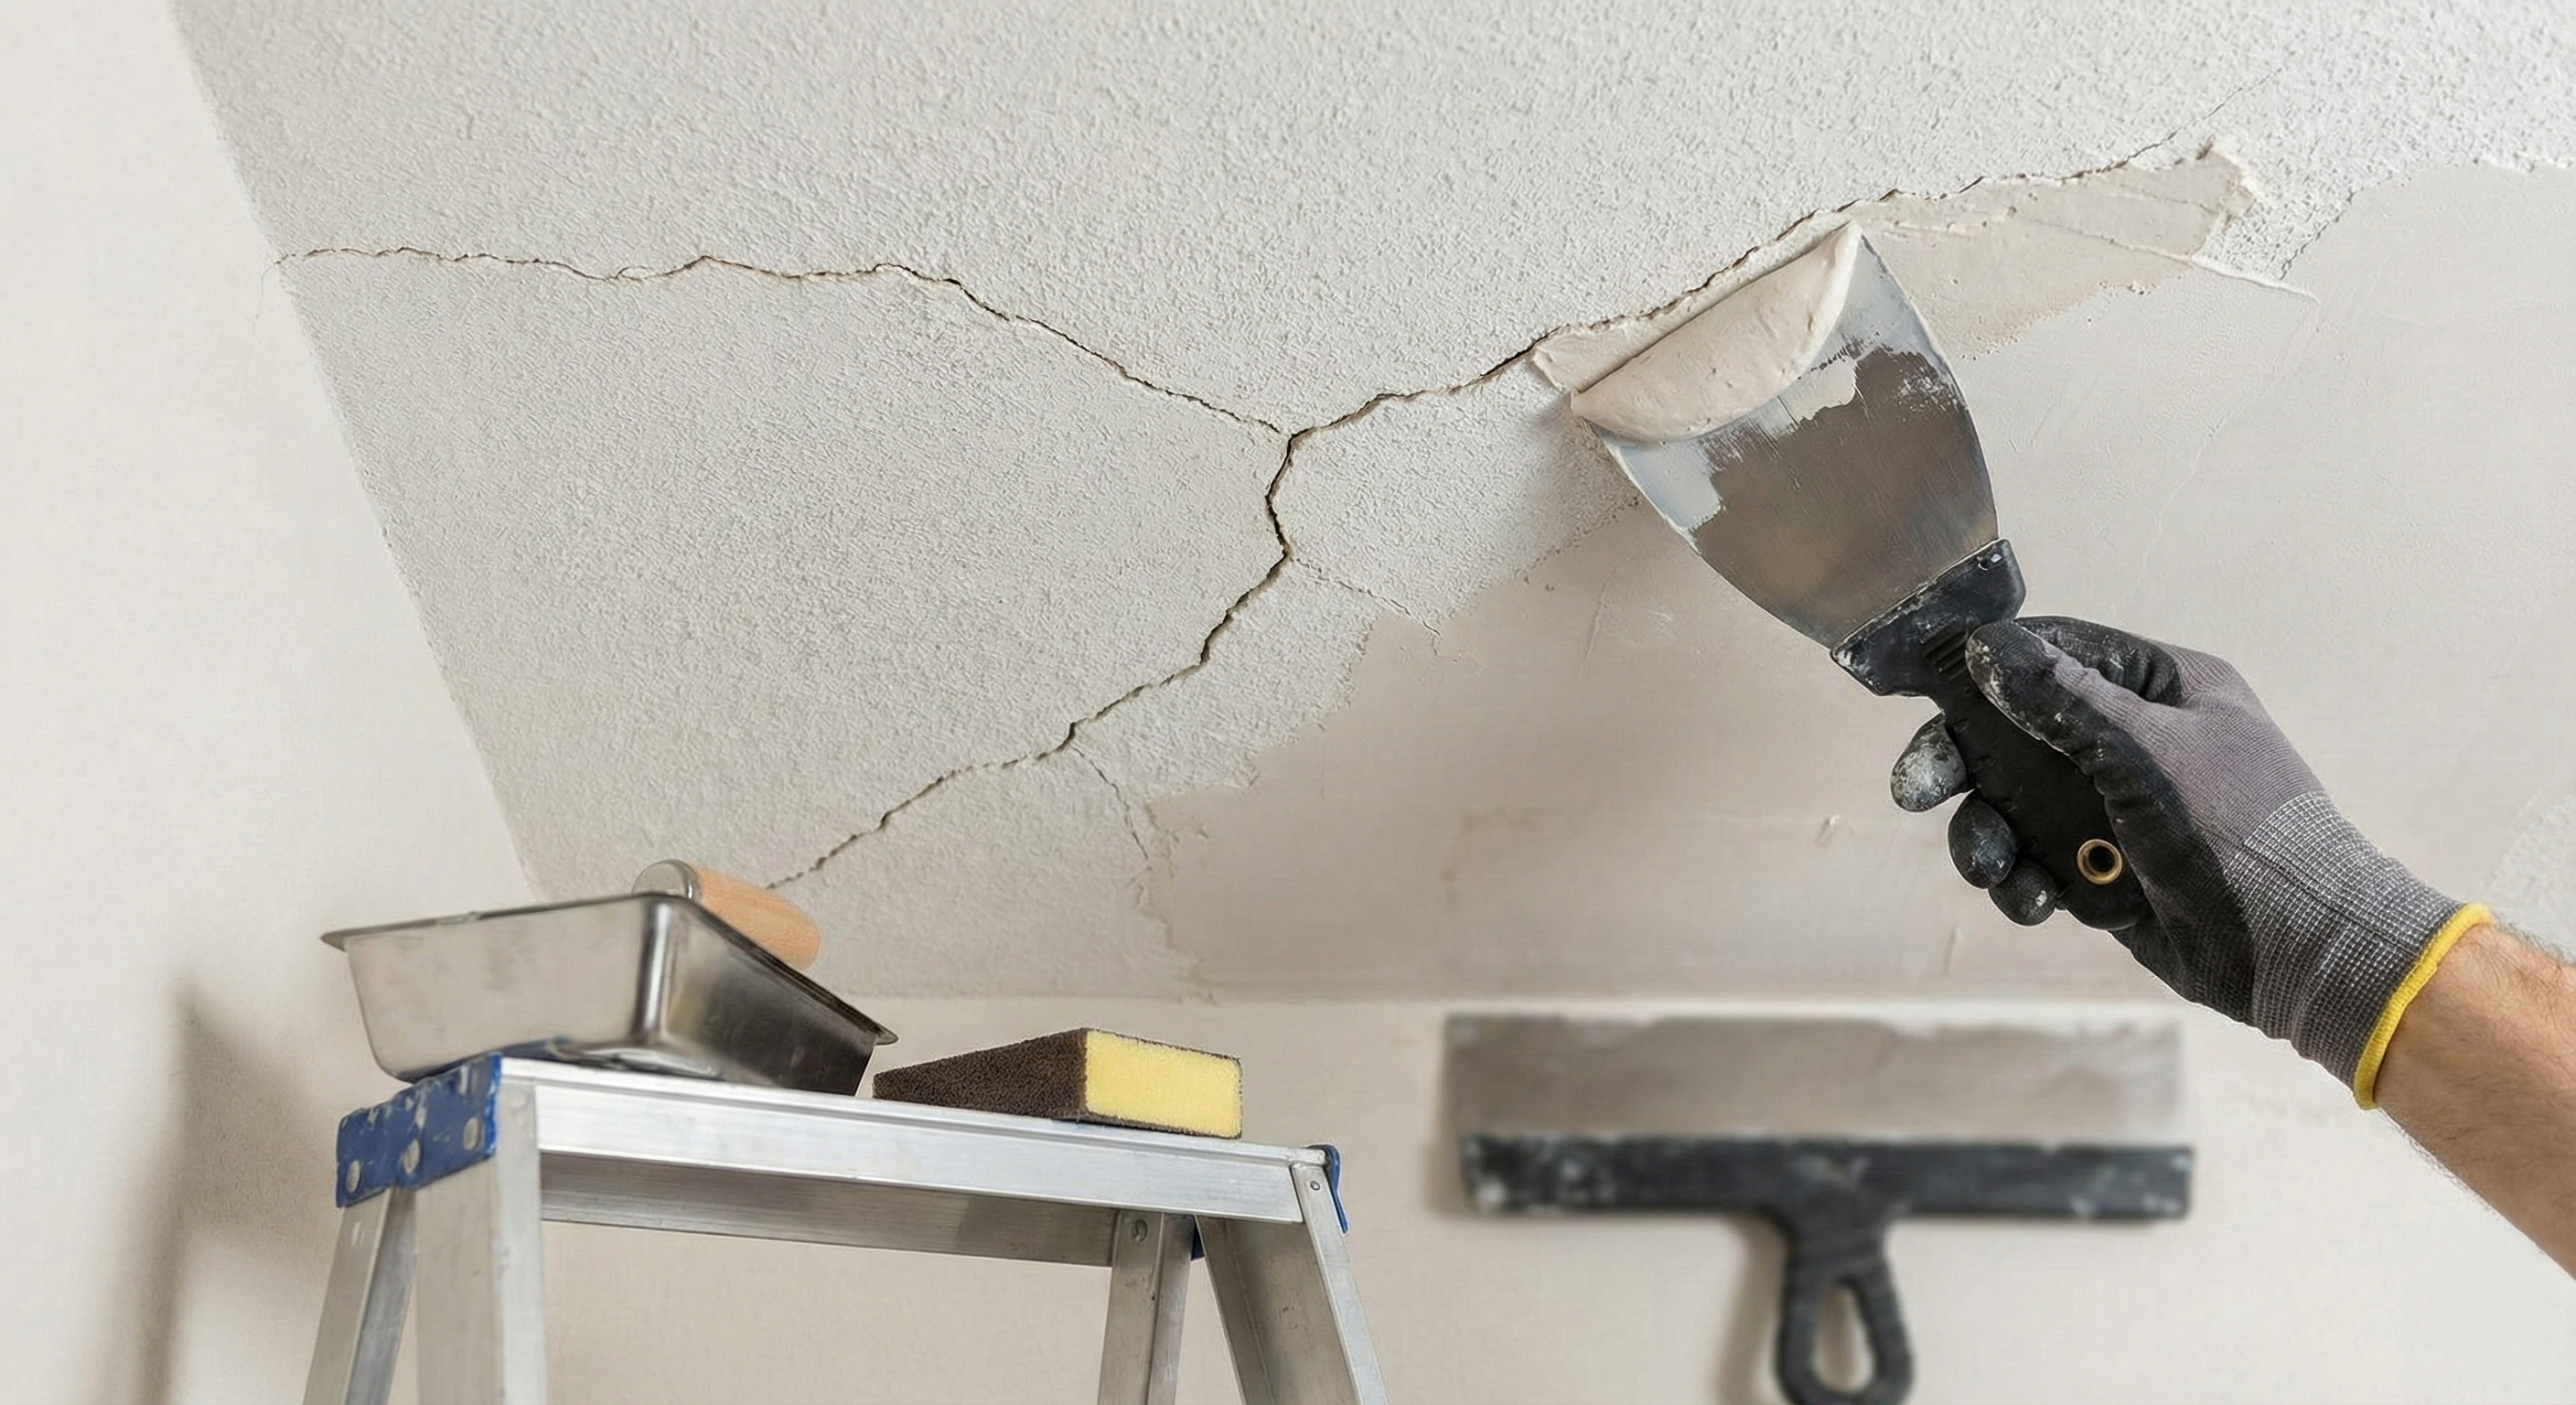
3. Taping and Mudding
We apply specialized drywall tape (fiberglass or paper) over the V-groove and cover it with multiple layers of joint compound ("mud"). This is the foundational repair.
4. Sanding, Smoothing, and Texturing
Once dry, the repair is sanded until perfectly smooth and flush with the surrounding ceiling. If your ceiling has a popcorn or knockdown texture, we carefully match and reapply the texture for a seamless finish.
5. Priming and Painting
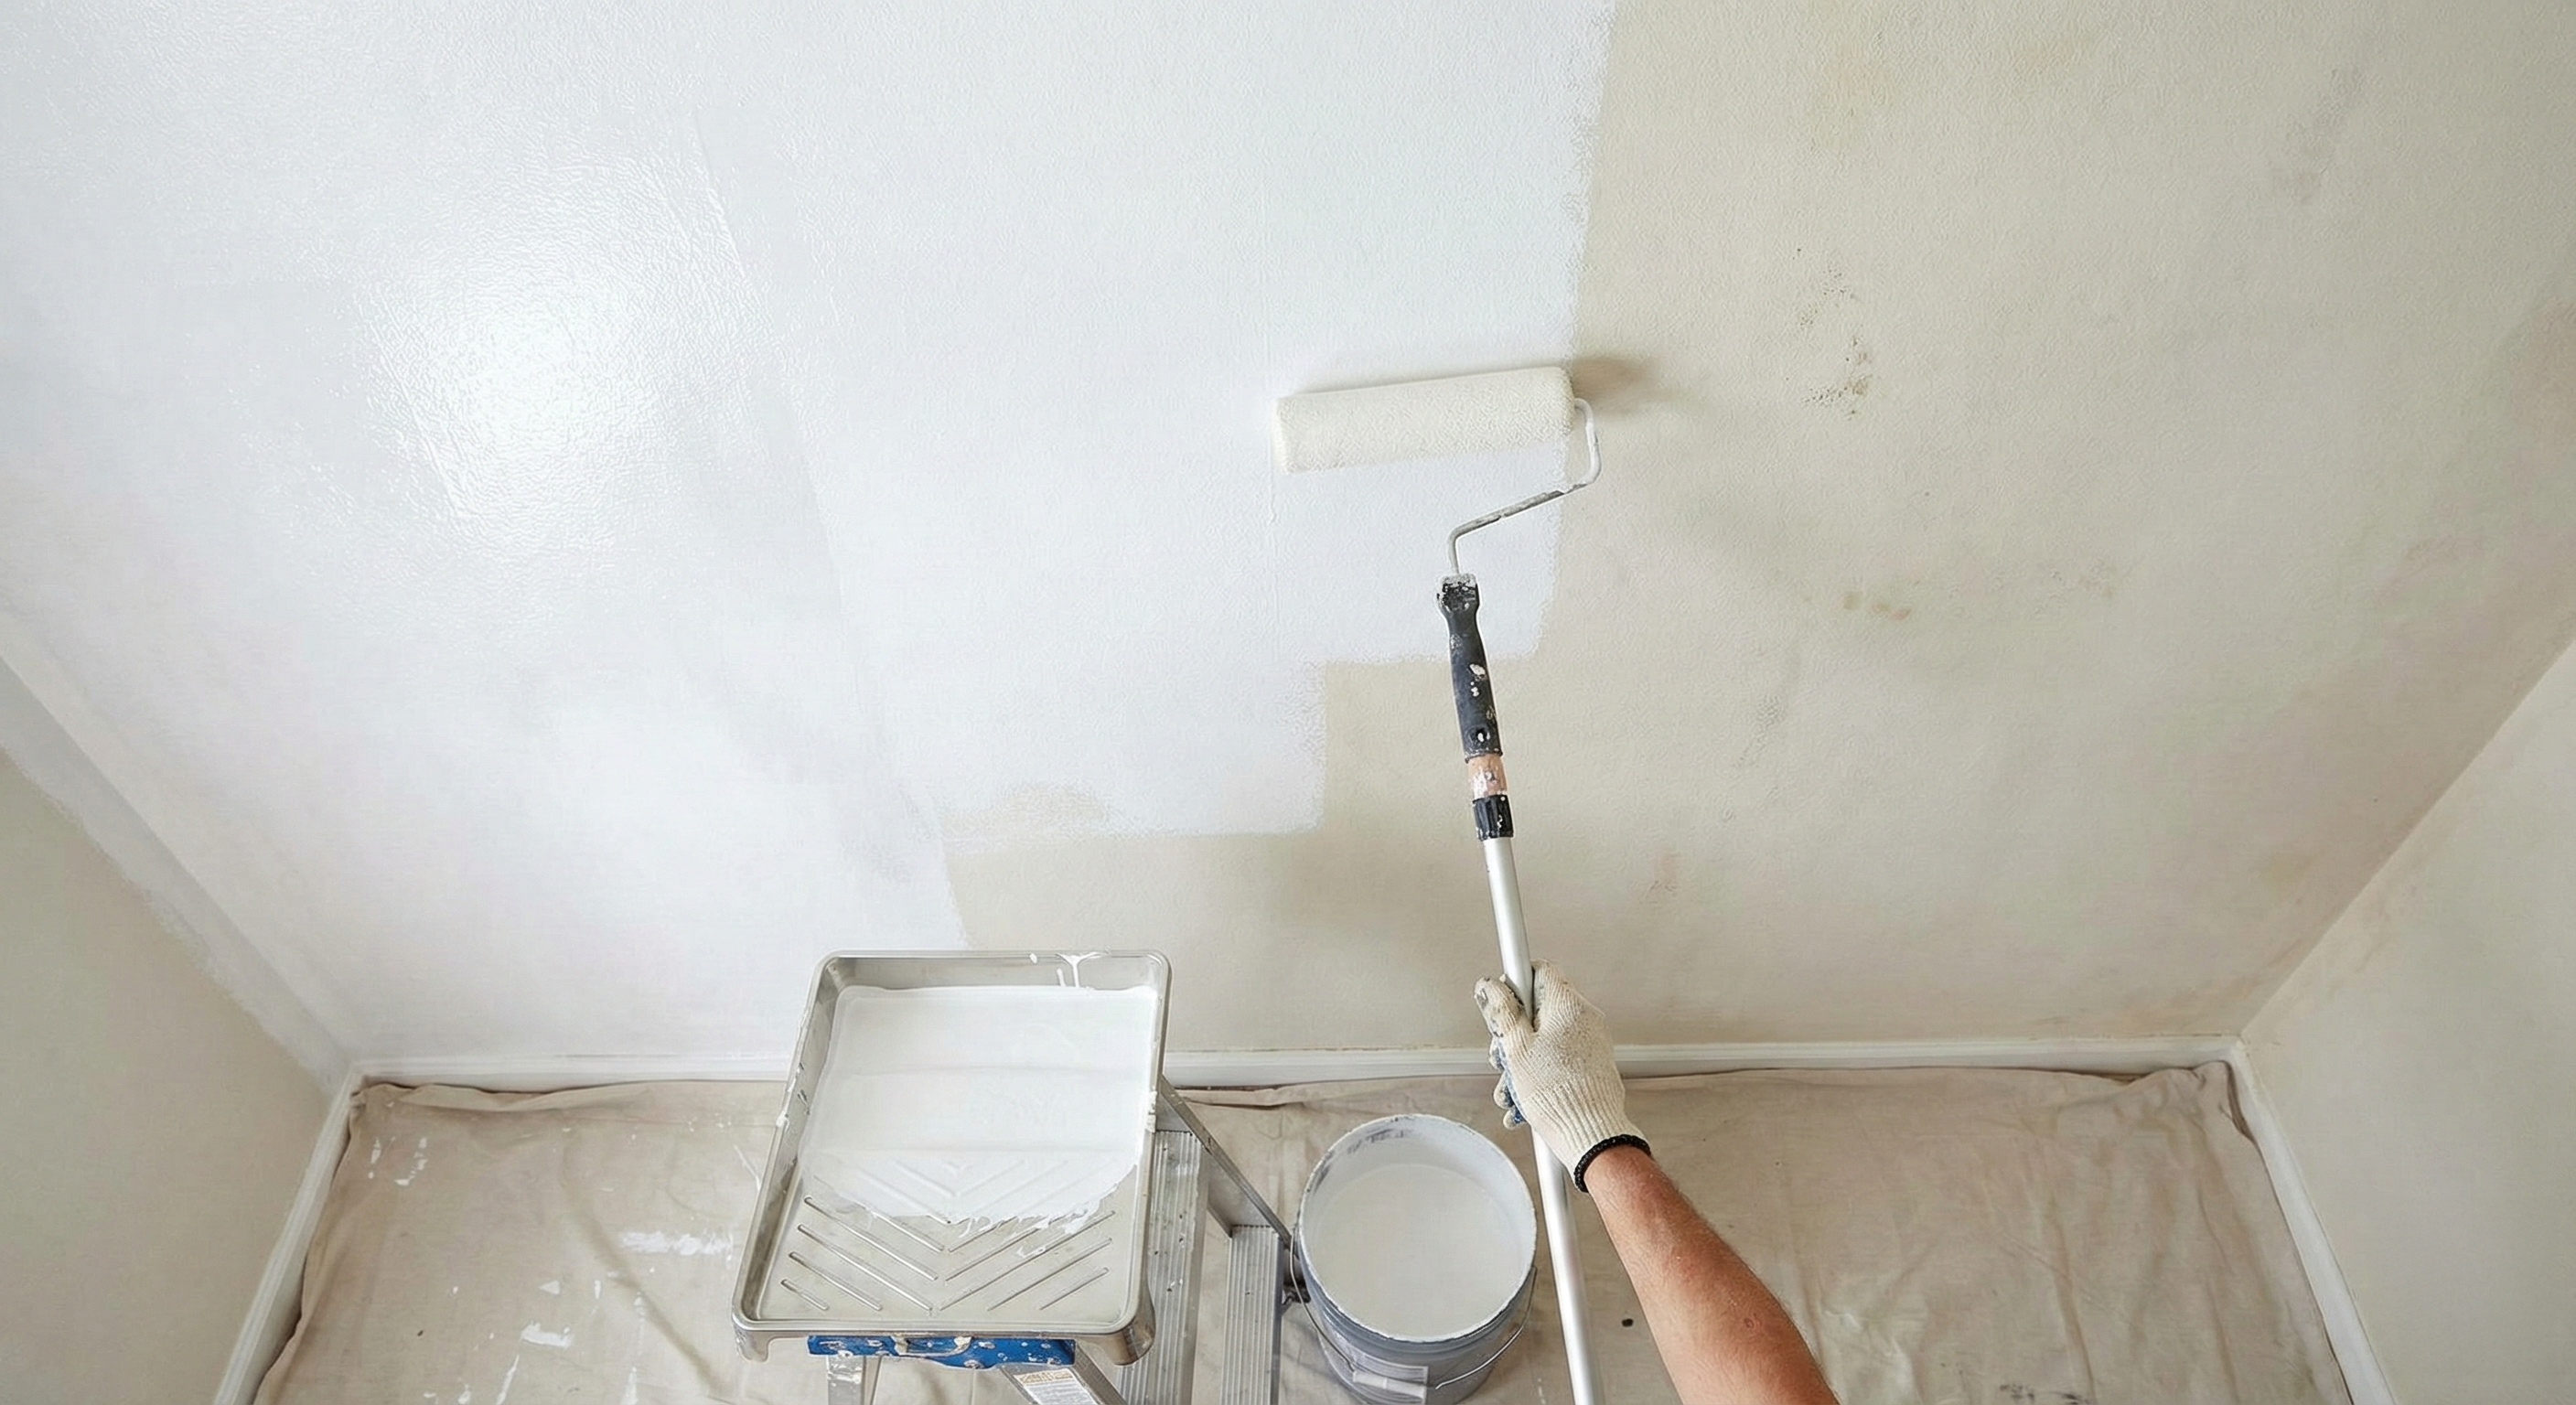
Finally, we apply a stain-blocking primer followed by a high-quality ceiling paint, leaving your ceiling looking brand new with a repair that will last.
Don’t Wait for a Crumble! Take Action Today.
Ignoring a small crack only allows the underlying problem (whether it's water, structural stress, or just a poorly finished joint) to worsen. A $100$ patch-and-paint job today could prevent a $1,000+$ drywall replacement and mold remediation job six months from now.
Your ceiling is the fifth wall—it deserves the same attention!
➡️ CTA: Schedule your repair before they worsen — Book your free estimate!
Ready to get started?
-
Call us at (864)900-9513 or click below:
Let Brightline Painting give you peace of mind with a safe, solid, and beautifully repaired ceiling.